PRACTICAL GUIDE↗
Can You Dry Different Filaments Together? Plan by Program, Not Spool Count
Group compatible materials and reels, then match the load to the dryer’s actual controls.
Explore the guideChoose a dryer around your active rolls, available space and filament routes. Explore single-spool models, shared drying batches and independent chambers, with practical guides to preparation and humidity readings.

Group compatible materials and reels, then match the load to the dryer’s actual controls.
Explore the guideThe filament, spool construction and dryer each impose a limit.
Explore the guideUnderstand whether the dryer stops by time, restarts on humidity, or runs continuously.
Explore the guideSeparate wattage from energy consumption and compare the cost of the drying work you actually do.
Explore the guideChoose equipment for recovering a wet spool, protecting a dry one, or both.
Explore the guideMatch the filament instructions, spool limits and dryer controls before starting a cycle.
Explore the guideUse a controlled diagnosis before blaming the spool or changing printer settings.
Explore the guideCheck the route from the spool support to the printer inlet before a long job.
Explore the guideSeparate a display limit or operating mode from an actual drying problem.
Explore the guideMeasure the spool assembly and its moving clearance, not just its advertised filament weight.
Explore the guideE2, S4 Pro and SH03 belong in different nylon workflows. The drying instructions decide which ones qualify.
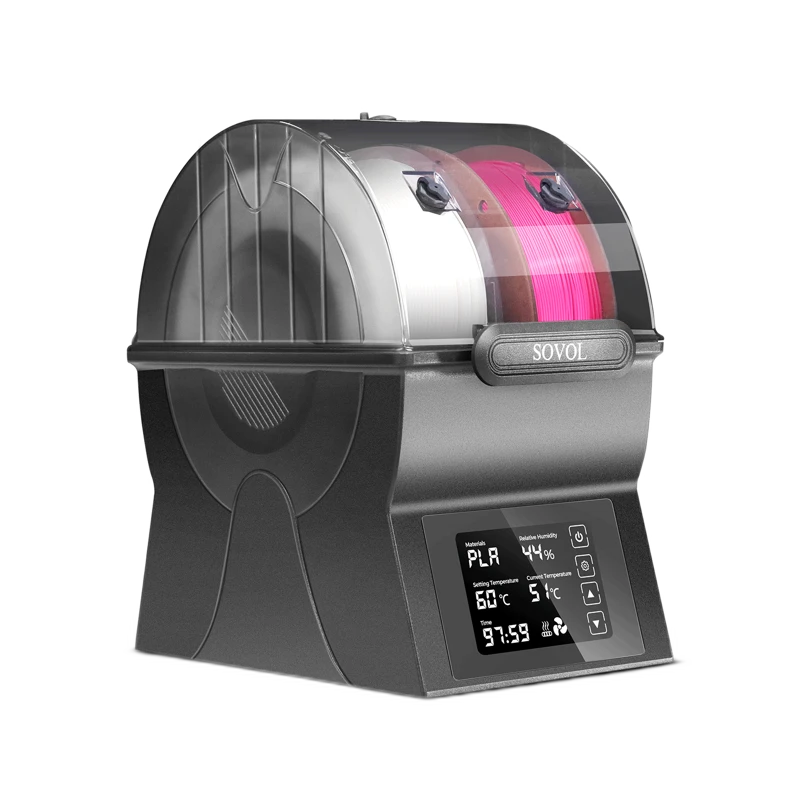
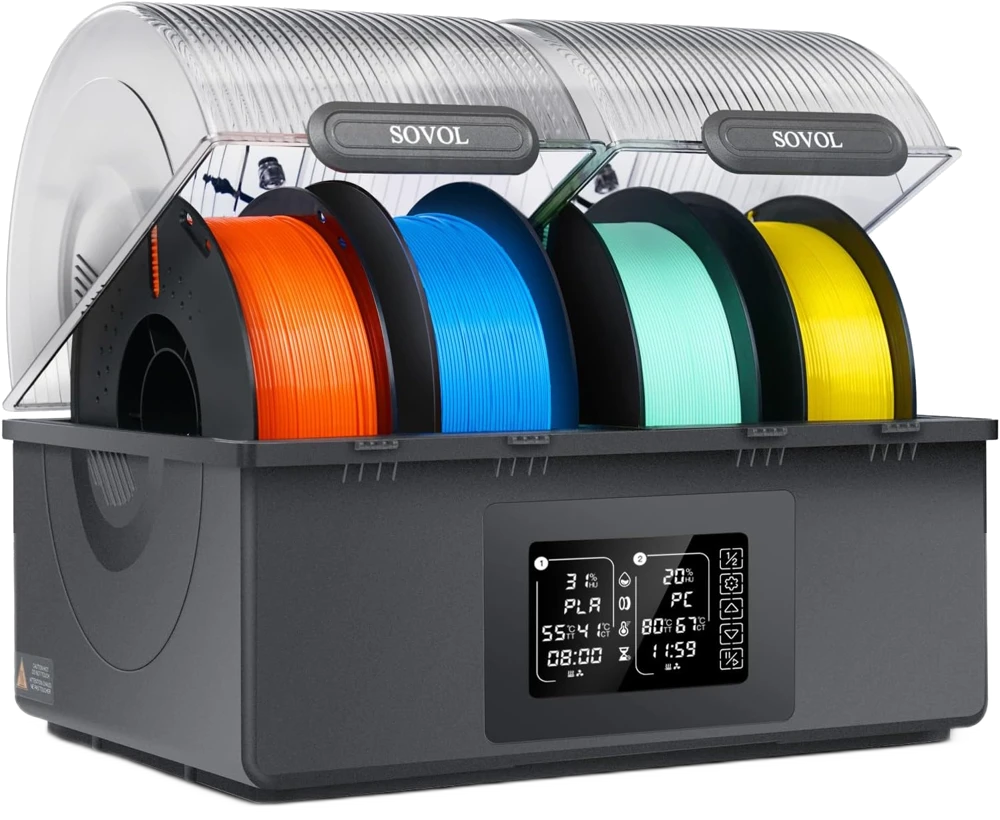
Explore the guideA six-model shortlist for one-roll preparation, shared batches, mixed materials and removable storage boxes.
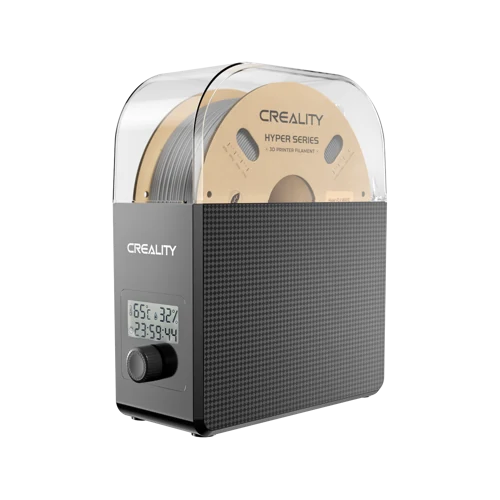
Explore the guideA compact one-spool dryer with useful PETG and TPU results, but awkward controls and a feed route worth checking.
Read the reviewA candidate for regular single-roll drying when the lid, display and filament outlet remain easy to reach.
Read the reviewThe 75°C two-spool V2 Plus has one matching improvement report; pooled X4 comments do not establish this model’s feeding or reliability.
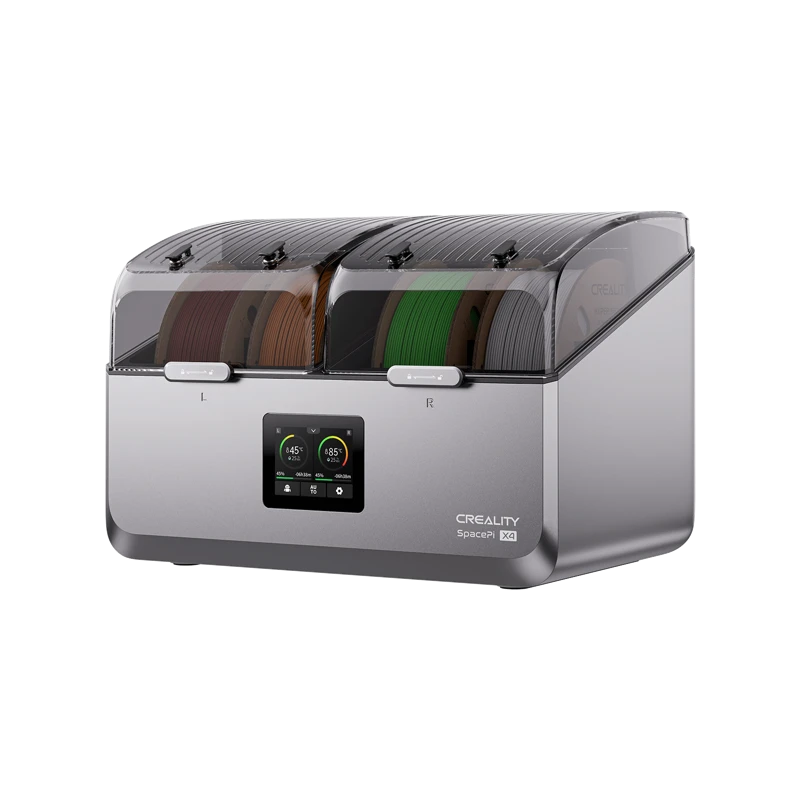
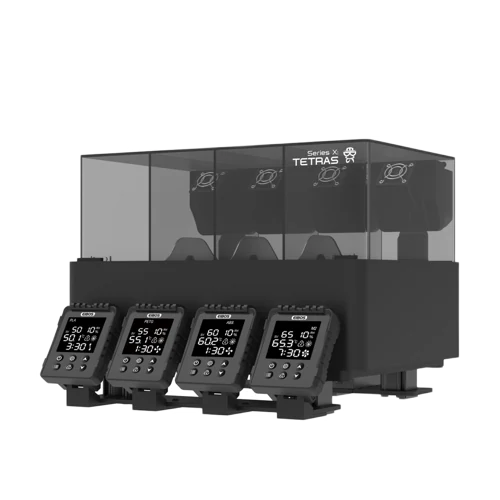
Read the reviewTwo independently controlled groups can simplify a mixed workload; allow space and check feeding with partly used rolls.
Read the reviewThe SpacePi X4L makes sense as a four-spool drying and feeding station when printer-side space is tight, provided its outlet positions and 75 °C ceiling fit your…
Read the reviewCyclopes offers a useful two-spool drying and feeding workflow, with quiet operation in positive feedback. Lid handling, heating concerns and the move to storage after drying deserve…
Read the reviewA two-zone drying upgrade for an existing compatible AMS, with useful workflow gains but installation and controls to learn.
Read the reviewConsider it around a two-roll workload, after confirming the current revision and how your spools move on the rollers.
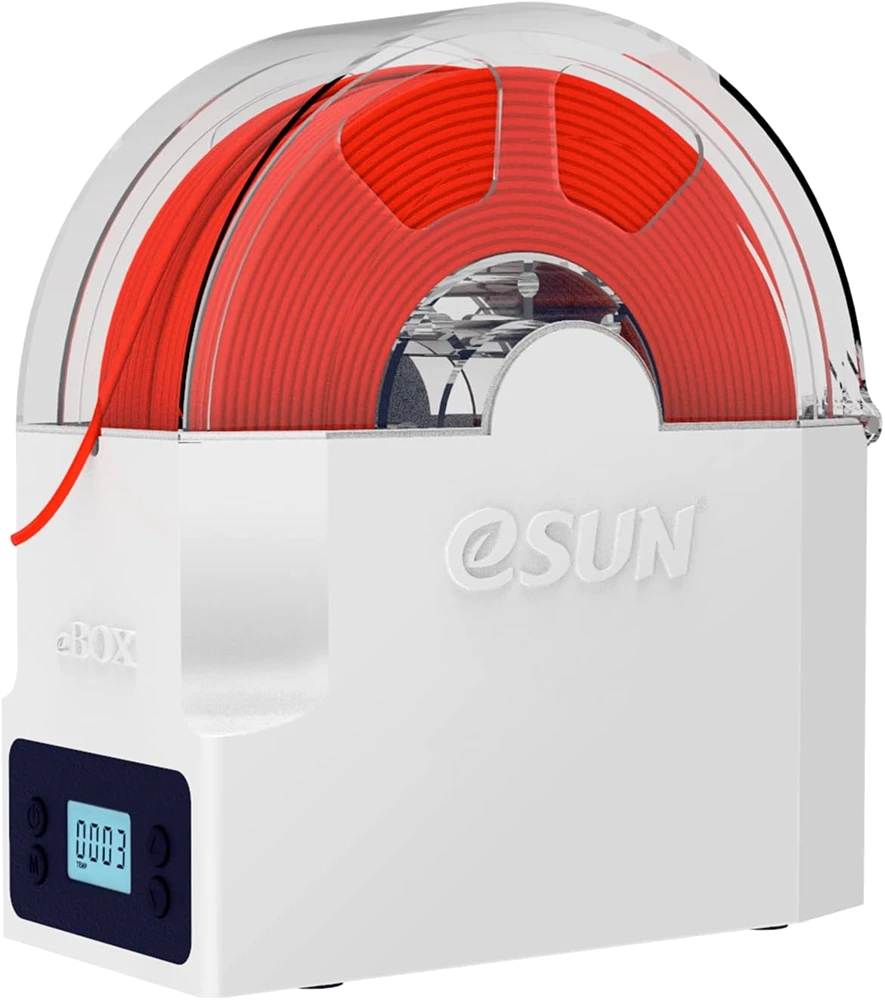
Read the reviewThe dial-based single-roll format is straightforward, but the owner evidence calls for careful first-use and feed-path checks.
Read the reviewSeparate drying schedules make an original AMS more useful, provided you accept the assembly work and 65°C ceiling.
Read the reviewMatching feedback supports modest drying and direct feeding, while slow cycles, limited heat and awkward routing constrain the role.
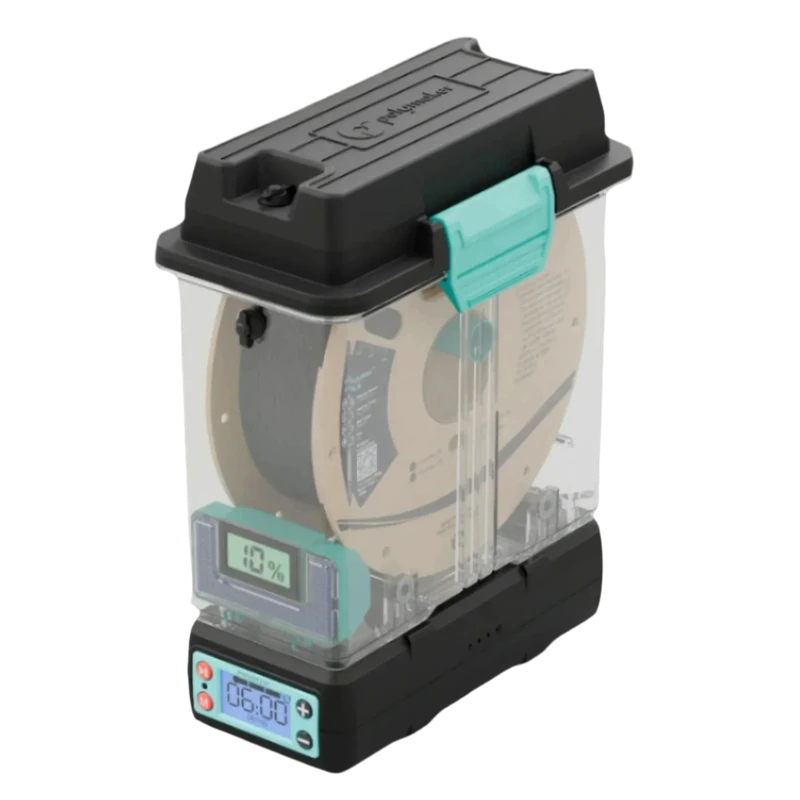
Read the reviewConsider the standard PolyDryer for individually boxed active spools, with periodic seal and desiccant checks.
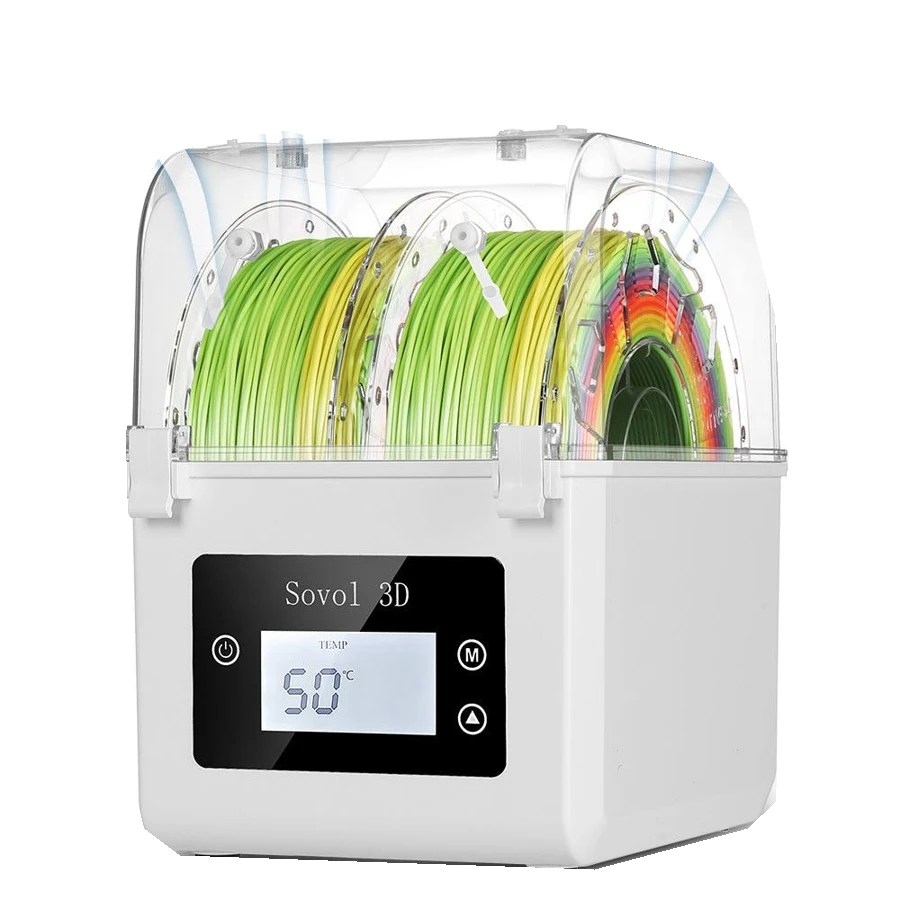
Read the reviewA simple printer-side option for compatible low-temperature routines; do not stretch its 50°C ceiling into a universal drying promise.
Read the reviewUseful preparation reports coexist with outlet friction, noise and individual heat-related concerns.
Read the reviewMixed-material preparation benefits from separate zones, but chamber faults, humidity control and desiccant fit deserve early checks.
Read the reviewAn original-AMS upgrade for reducing spool transfers, provided all loaded materials tolerate the chosen cycle.
Read the reviewA demanding-filament workflow with useful drying and part-treatment reports, offset by fit, controls and unresolved supplied-version details.
Read the reviewA compact single-spool option when you can check outlet alignment and confirm the fan-equipped revision.
Read the reviewThe S4 Pro earns consideration when two material groups need different drying settings at once. Its four-spool capacity is useful, but bench space, timer management and initial…
Read the reviewA practical candidate for several compatible spools in regular use, provided you have space for the box and its feed routes.
Read the reviewA compact first dryer for one compatible spool; the 55°C ceiling and feed route decide whether it fits your routine.
Read the reviewA removable drying-and-storage box for compatible large reels, with physical spool clearance and fan noise worth checking.
Read the reviewA modest temperature difference matters only when the exact material cycle uses it; feeding and model-specific evidence matter too.
Explore the guideLoading access and the route to your printer can be more useful tiebreakers than preset counts.
Explore the guideThe clearest distinction is two independently controlled groups versus one shared drying cycle.
Explore the guideThe single-spool choice turns on controls and operation, with historical revisions kept in view.
Explore the guideA two-roll rotating design and a shared four-roll dryer solve different workload problems.
Explore the guideSH03 changes capacity, temperature range and moisture handling. Decide whether those changes solve your actual SH02 limitation.
Explore the guideBoth offer four-spool, two-zone drying up to 85°C. Compare the daily controls, fit and handling rather than inventing a temperature winner.
Explore the guideChoose between an ordinary multi-roll schedule and a documented higher-temperature material requirement.
Explore the guideBoth hold four ordinary spools. The useful upgrade is separate schedules and a higher temperature ceiling.
Explore the guideCompare removable-box capacity, temperature controls and the cost of keeping rolls individually contained.
Explore the guideAn active dryer removes moisture using heat and airflow. A passive desiccant box helps keep prepared filament dry; it should not be assumed to restore an already wet spool. See Polymaker moisture guidance, Prusa USS Drybox documentation.
Count the rolls you need ready at the same time, then check their actual diameter and width. Consider loading clearance and the route to the printer as well as the advertised spool count.
No. Moisture is one possible cause, but nozzle temperature and retraction settings also matter. Diagnose the symptom before buying equipment or repeatedly drying the same spool. See Prusa stringing guidance.
Use the instructions for the named filament, spool and drying device. Prusament publishes different schedules for PLA and PETG; those schedules are not universal recipes for other brands. See Prusa drying guidance.
Start with the buying shortlist to choose a format. Use an exact-model comparison when two options fit, and open the individual reviews for specifications, source limitations and ownership considerations.