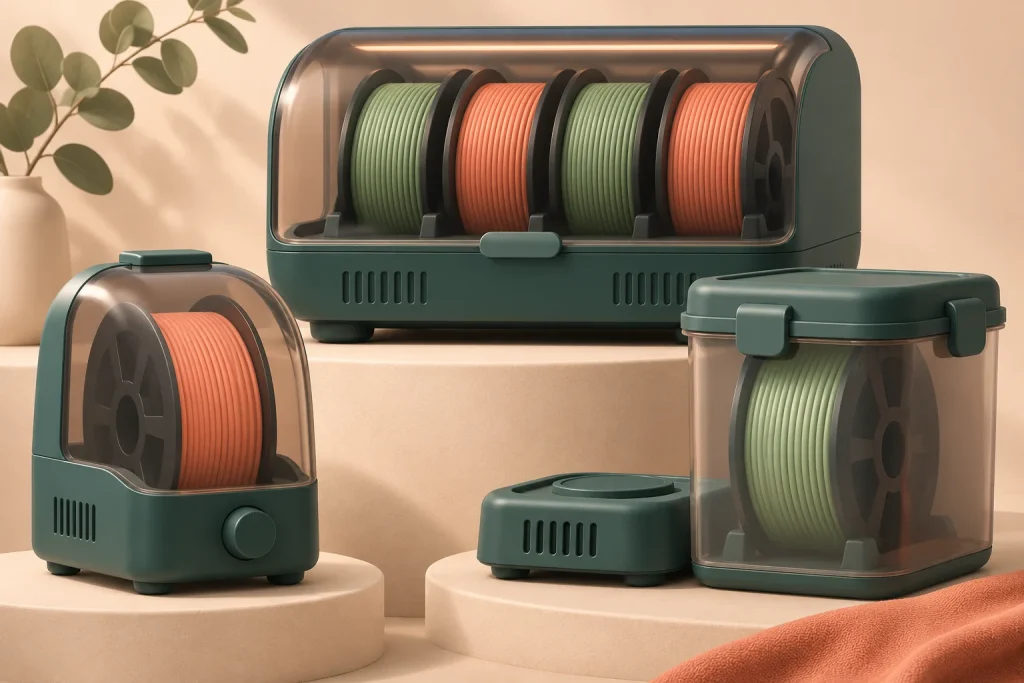
Start with the rolls you actually use in the same week. Four spaces help only when you need them; two independently controlled spaces help when materials need different cycles. A detachable box solves a different problem again: keeping a prepared roll contained while the heater moves on.
Which bottleneck are you buying out?
| Your bottleneck | Start here | The deciding limit |
|---|---|---|
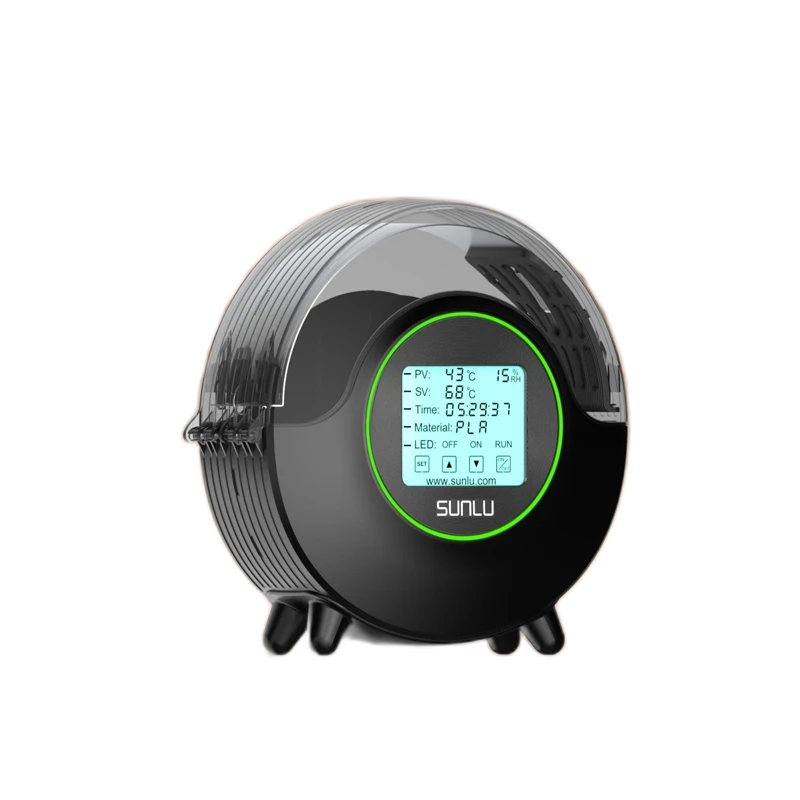
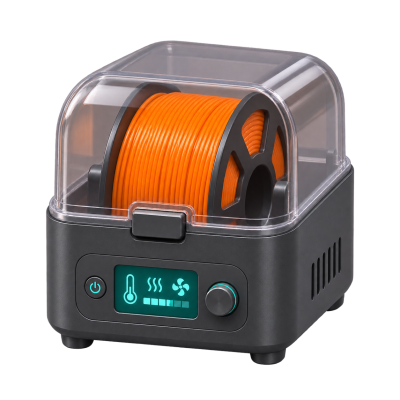
| One roll needs preparing before a print | SUNLU S2 | One spool; check feed angle if printing from it |
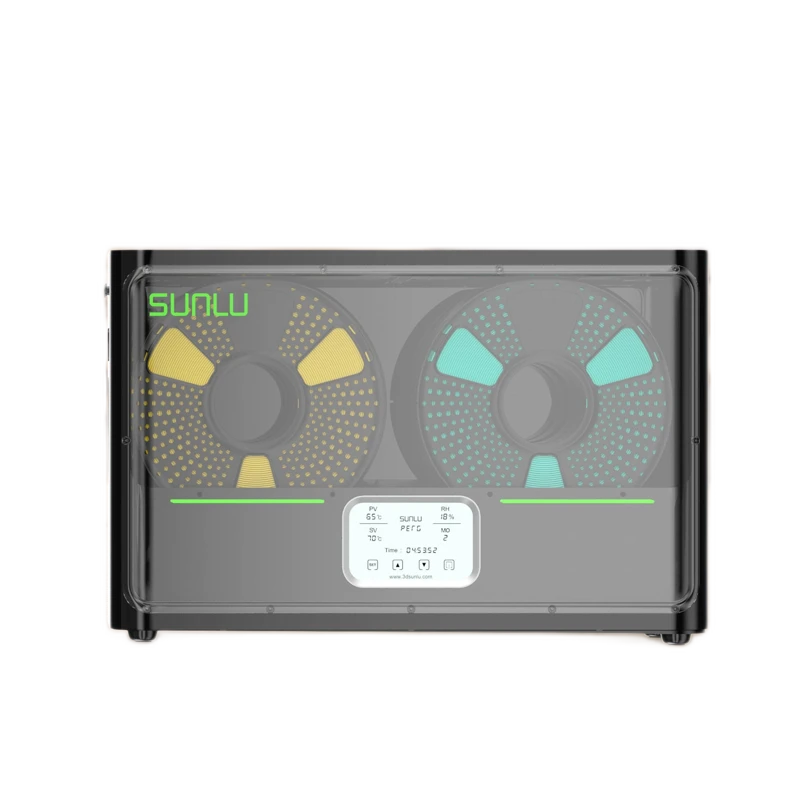
| Several rolls share a cycle | SUNLU S4 | One shared temperature, up to 70°C |
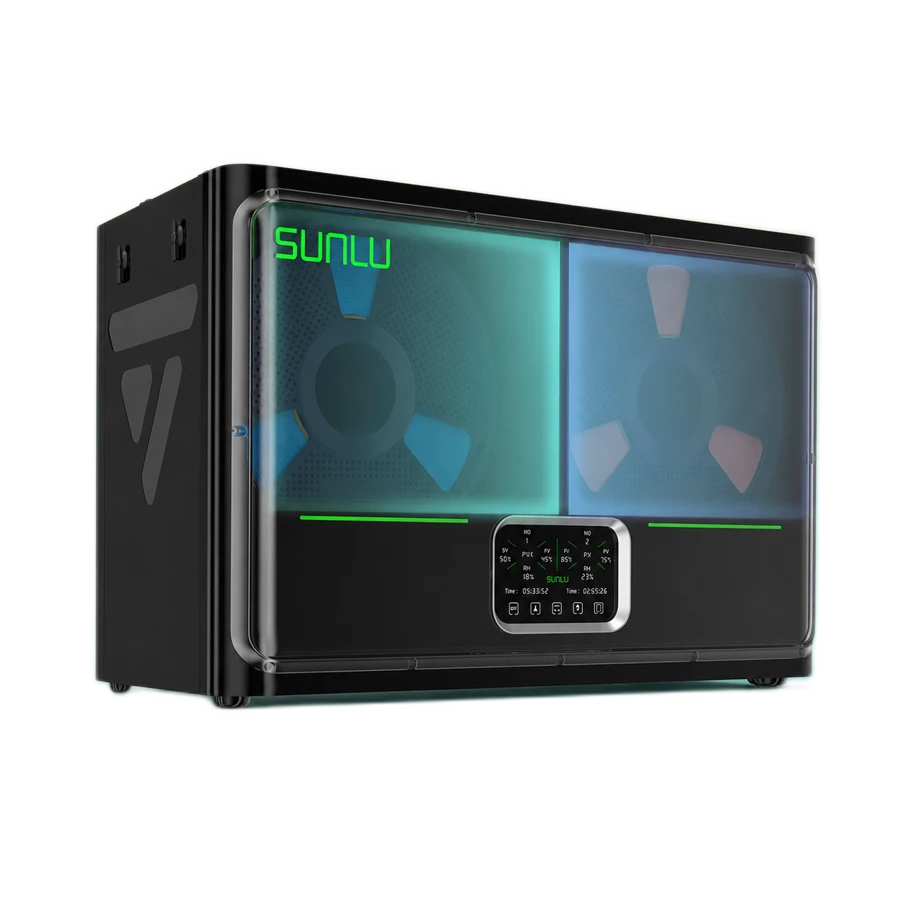
| Two material pairs need different settings | SUNLU S4 Pro | Two zones, up to 85°C |
| A documented cycle exceeds 85°C | SUNLU E2 | Up to 110°C; check spool heat tolerance |
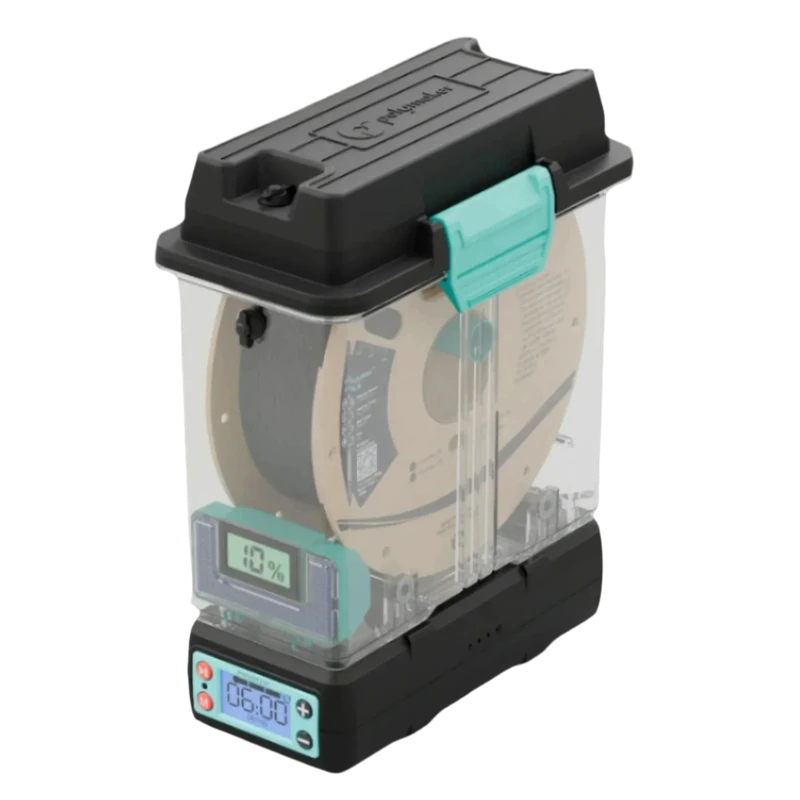
| Keep individual active rolls boxed | PolyDryer | One box per dock; power levels rather than °C |
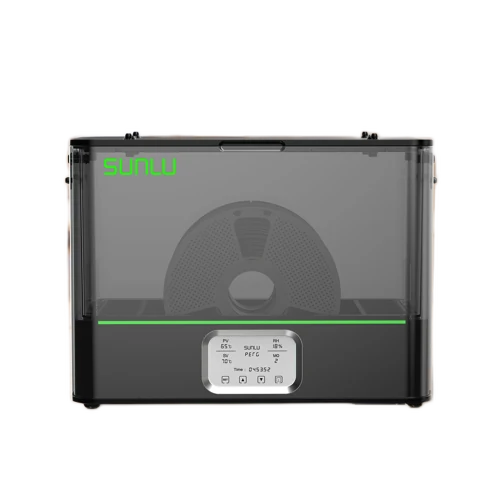
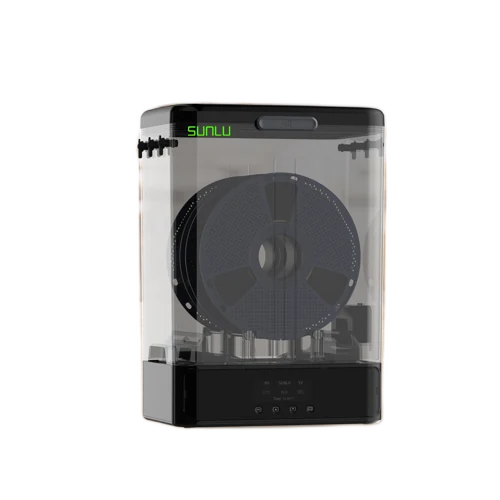
| Move a pair or a larger reel off the heater | SUNLU SP2 | Measure the reel and feeding clearance |
Draw the feed route before choosing the box
The dryer may fit on the bench while the filament route does not. Leave room for the lid, power connector and a gentle path to the printer. A reel rubbing the wall can stop a print even when the lid closes normally. The SP2 versus PolyDryer comparison is useful if storage handling is your main decision.
For hotter materials, use the nylon dryer shortlist. If you are replacing a working standard S4, compare the actual S4 and S4 Pro changes before buying another four-spool box.