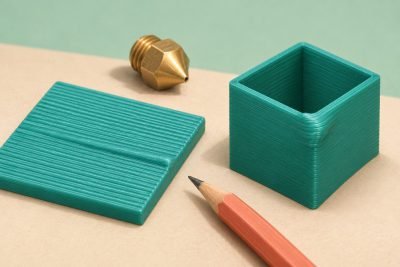
Wet filament is a possibility when extrusion starts popping, surfaces become rough or pitted, and stringing appears. A single symptom cannot identify the cause. Polymaker’s moisture guide describes this symptom group; Prusa’s stringing guide also identifies temperature, retraction and nozzle-related causes.
Start with what changed
Write down the material, exact product line, printer profile and storage history. Compare the current failure with a previous successful print. A problem that appeared after changing the slicer profile deserves a different first check from one that appeared after leaving the same spool exposed.
| Observation | Useful next check |
|---|---|
| Only fine strings between parts | Check the correct material profile and manufacturer troubleshooting steps before treating moisture as established. |
| Strings plus popping and a rough extrusion surface | Check the exact filament’s drying instructions and whether its spool can tolerate them. |
| A known-good spool gives the same defect | Investigate the shared printer, profile and model conditions. |
Make a before-and-after comparison useful
If drying is appropriate, photograph a small existing test print and record its settings. Follow the documented drying workflow, then repeat the same file with the same printer settings. Changing retraction, temperature and drying at once makes the result hard to interpret.
Improvement after drying supports moisture as a contributor in that setup. It does not establish that every defect came from moisture or that the filament brand is defective. Keep the observations attached to that spool and material.
Use the result to choose one next change
A before-and-after print is useful when the file and settings stay comparable. Improvement after drying can support moisture as a contributor without proving it caused every defect.
What did the controlled comparison tell you?
The same print improved after drying
Keep the observation with that spool and material. Establish the storage routine that will protect the preparation work.
The defect did not improve
Return to symptom-specific printer and profile checks. Record what stayed the same and what changed; do not raise the drying temperature experimentally to force a result.
The next decision is which cause to investigate. A lower humidity display is not a substitute for that diagnosis.