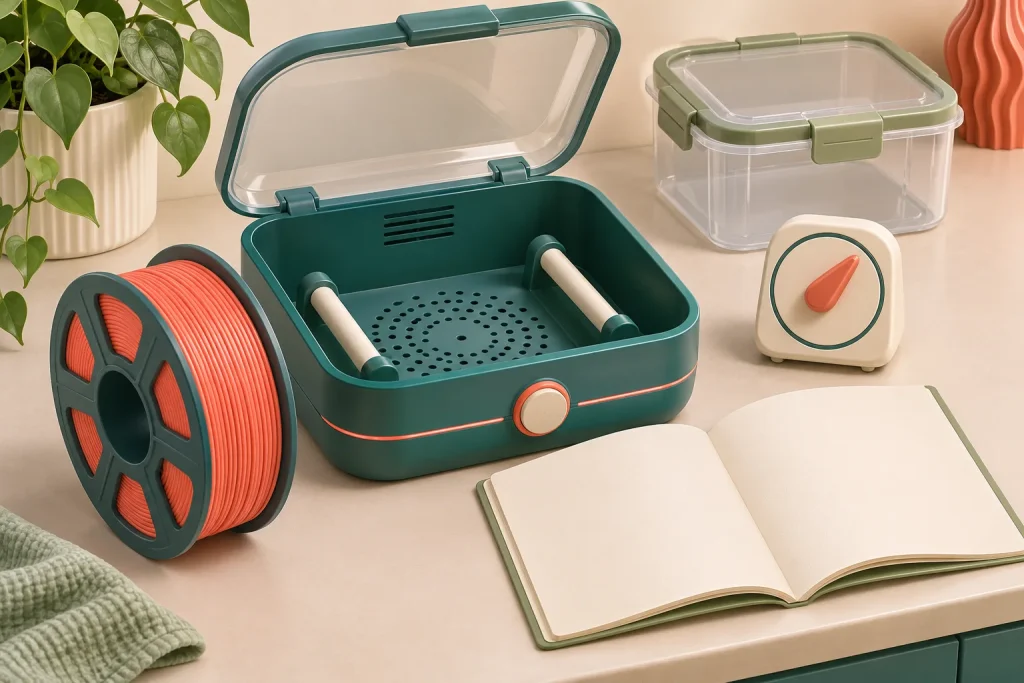
Choose drying settings for the exact filament line and spool, then check that your dryer can follow them. A button labeled PLA or PETG is a convenient preset, not confirmation that it matches every brand’s instructions.
Record three things before switching on
- The material: copy the full name from the spool, including modifiers such as HF, Plus or fiber content.
- The instruction: save the manufacturer’s temperature, duration and any preparation requirements.
- The equipment: confirm the spool fits and that the device supports the prescribed cycle and loading arrangement.
Prusa’s drying instructions illustrate why the spool matters: older and redesigned Prusament spools have different heat limits. The same article warns that domestic ovens can regulate poorly at low temperatures. Do not assume a kitchen appliance is suitable because its dial displays the desired number.
Buying a dryer to meet those requirements? The dryer buying shortlist compares one-roll, shared-batch and individually boxed workflows. Use the cycle and spool limits you recorded to rule out unsuitable formats first.
Run the documented cycle
Load and operate the dryer according to its own instructions. Use its prescribed lid, vent and outlet positions; a procedure for another dryer is not a substitute. Keep mixed materials in separate cycles when their permitted settings do not match.
Record the selected temperature and start time. Do not interpret a warm chamber as proof that the full spool has finished drying. Follow the material’s stated duration and any device-specific guidance instead of stopping when the screen first looks encouraging.
Finish with a useful result and a protected roll
Complete the documented cycle within the filament and spool limits, then check the original problem. A warm chamber or a low display reading is not the finishing criterion.
Close the cycle without changing several variables at once.
The original test file and printer settings are available for a comparable print.
Suitable storage is prepared for the roll after drying.
The exact material, cycle and observed result are recorded.
If the defect remains, return to diagnosis rather than exceeding a limit. Use the PLA or PETG examples for named-line context, and obtain missing instructions before choosing a cycle. The storage workflow covers active and spare rolls.