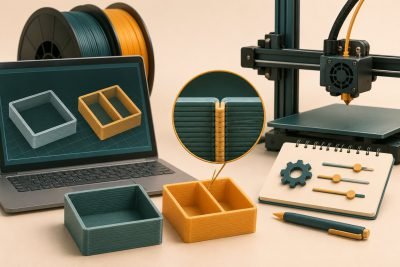
Before pulling harder, decide which surface you are trying to improve. A scar where support touches the model, a drooping underside and a chip torn off during removal point to different changes.
| Surface after removal | What to inspect next |
|---|---|
| Dense contact marks | Interface and contact-gap settings for the exact material pair |
| Loose, drooping underside lines | Support coverage and the gap beneath the model |
| Broken thin feature | Removal access and the feature’s orientation |
PrusaSlicer’s support settings distinguish vertical contact distance from horizontal separation. Adjust the control corresponding to the marked surface, rather than treating every support setting as one clearance.
Move contact away from the important face
Mark the cosmetic face and mating surfaces before slicing. Try a different orientation or supported region that leaves those surfaces accessible. Compare the preview before accepting more support everywhere.
Would a larger gap make removal easier?
It may reduce contact while leaving the underside less supported. Compare a small representative overhang, using the profile for the material and support type. Zero-gap soluble interfaces and breakaway supports should not inherit each other’s settings.
Should I switch to soluble support?
First verify compatibility with the model material and printer. Also check whether liquid can reach the interface and whether the removal process suits the finished part. Soluble material adds preparation and cleanup requirements.
Choose the orientation and contact strategy before the full print. The PLA/PETG interface guide is relevant only when that specific material pairing and workflow fit the job; it is not a general support substitute.