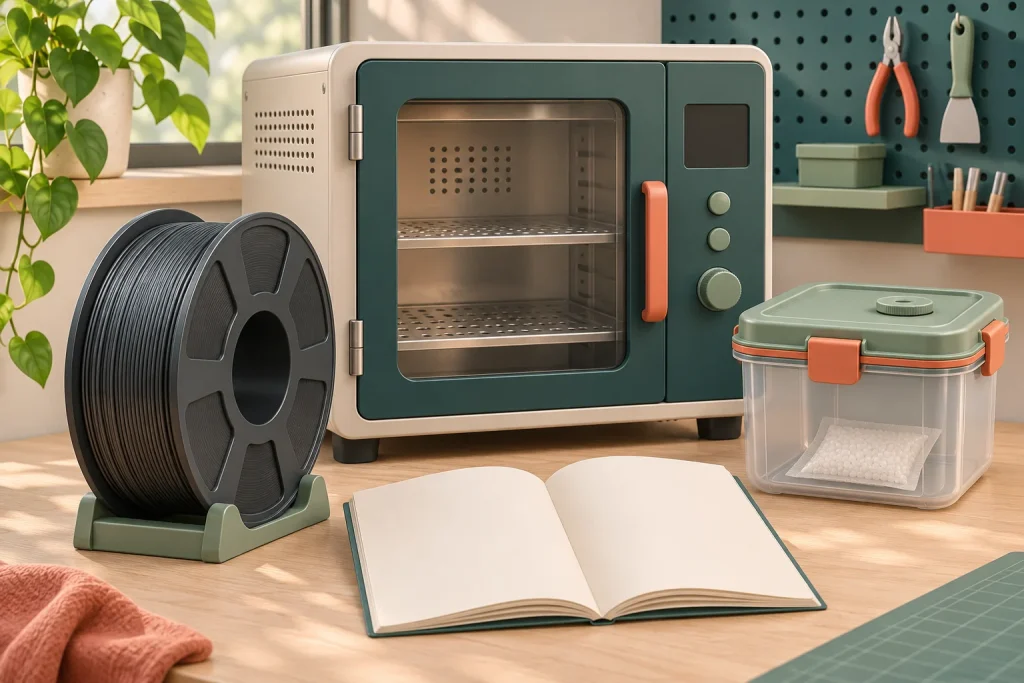
Dry nylon by its complete product name, not by a generic “nylon” preset. PA6, PA12, PA11 and their filled formulations can have different preparation requirements. Check the filament instruction, spool heat tolerance and drying equipment together before starting.
Choose a documented cycle, then check whether you can run it
| Named formulation | Published drying example | What to verify |
|---|---|---|
| Prusament PA11 Carbon Fiber | 90°C for six hours. | Spool generation and the preparation rules in Prusa’s drying guide. |
| Fiberon PA6-CF20 | 100°C for ten hours. | Exact product instructions, spool tolerance and supported drying equipment. |
| Fiberon PA12-CF10 | 100°C for ten hours. | Lower moisture sensitivity does not remove the documented preparation requirement. |
These named examples come from Prusa’s drying guide and Polymaker’s PA6-CF20 and PA12-CF10 instructions. They are not interchangeable recipes. If your exact nylon is absent, obtain its instructions rather than choosing whichever example your dryer can reach.
For these Fiberon products, Polymaker also publishes device-specific PolyDryer guidance. A named device cycle is not evidence that any lower-temperature dryer will achieve the same result if left running longer. Confirm the current instruction for the particular material and device before using an alternative cycle.
Match the dryer to the verified cycle
Once the exact instructions are known, use the nylon dryer shortlist to filter equipment by the cycle it can actually perform. E2 addresses a different requirement from a four-roll 85°C box; the S4 versus E2 comparison explains that tradeoff.
If the formulation is still undecided, the nylon shortlist separates unfilled Easy PA from PA12-CF, PA6-CF and PA6-GF choices. Do not select a lower-temperature material cycle merely to fit equipment already on the bench.
The spool can be the limiting component
Prusa distinguishes old and redesigned spools, including different temperature limits and preparation requirements. The material’s drying temperature is therefore only half the check. Keep the spool identity attached to the filament record, especially if the roll has been transferred or refilled.
If the filament cycle exceeds either the spool or equipment limit, stop before heating. Resolve the mismatch with a supported arrangement; an improvised hotter or longer cycle is not a documented substitute.
Prusa also warns about temperature regulation in domestic ovens. A household dial showing the desired setting does not establish stable filament-drying conditions. Use equipment suitable for the prescribed process and follow its loading, ventilation and operating instructions.
Plan the route from dryer to printer
- Identify the exact filament, spool and instruction revision.
- Confirm that the selected equipment supports the complete cycle, not just the target temperature.
- Arrange the manufacturer-supported dry feed or storage path before finishing the cycle.
- Run the stated cycle and record its settings.
- Assess a comparable print, keeping other settings stable when investigating an earlier defect.
Polymaker’s two linked Fiberon pages call for dry storage and printing conditions. A prepared roll left exposed while you reorganize the printer loses the benefit of a planned handoff. The storage guide helps separate active rolls from spare stock; the general drying workflow covers the equipment checks.
Do not confuse spool drying with conditioning the finished part
Polymaker’s conditioning guidance distinguishes dry filament for printing from the moisture state of the finished nylon object. Those are different stages. A post-processing instruction for a printed part is not permission to wet a spool before extrusion. If material selection is still open, compare PA6 and PA12 using the actual formulations.
Keep the next step tied to this roll
The cycle is ready when the material, spool and equipment instructions agree—and the prepared roll has a supported dry route to the printer.
What is still unresolved?
The dryer cannot perform the documented cycle
Check for an explicitly supported device-specific alternative or obtain suitable equipment. Do not calculate an unverified time–temperature tradeoff.
The cycle is complete but the print still fails
Return to symptom diagnosis. Inspect the supported feed path and printer profile before assuming that another hotter cycle is needed.