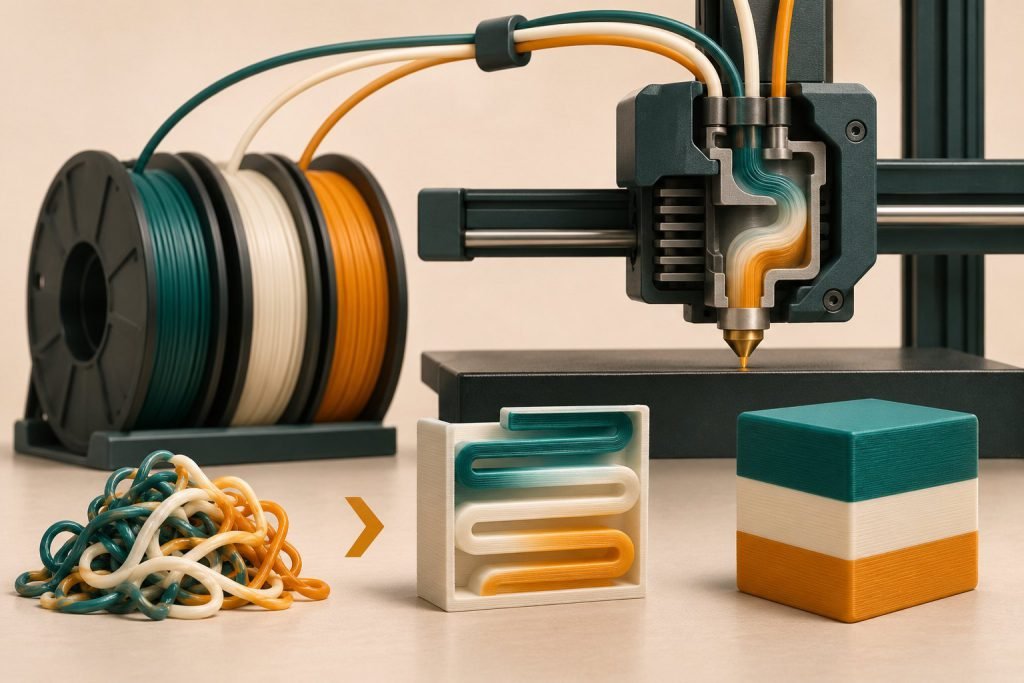
The cleanest saving is often avoiding a color change that the design does not need. Compare the layer preview before reducing purge amounts: fewer transitions can cut waste without weakening the cleaning step between colors.
Try these in order
- Check whether a colored feature can be printed as a separate piece or confined to fewer layers.
- Compare the number of changes in alternative orientations.
- Review supported wipe-to-infill or wipe-object options.
- Only then evaluate purge amounts with an actual transition sample.
| Option | What to inspect |
|---|---|
| Wipe into infill | Whether mixed colors show through the outer walls |
| Wipe into another object | Whether mixed color and transition artifacts are acceptable there |
| Reduce purge volume | Cleanliness of each transition, especially the visible light areas |
PrusaSlicer’s wipe-tower documentation describes both reuse options and warns that dark infill can show through light walls. Wiping into infill also does not guarantee the tower disappears.
Can mixed polymers go into a functional part’s infill?
Do not assume so. A setting that reuses mixed colors of a compatible material does not establish adhesion or strength for unrelated polymers. Keep support-material changes and decorative color changes as separate cases.
For a manual same-material color change
Use the printer’s loading/purge sequence until the incoming color is consistent, then inspect the first visible printed area. A dark-to-light change may need a different amount from the reverse transition; Prusa’s transition-specific purge controls illustrate why one fixed amount is a poor universal rule.
- Confirm the incoming filament uses a compatible profile.
- Observe the extruded color without touching the nozzle or fresh melt; remove waste as instructed before resuming.
- If the strand is clean but specks remain on the part, inspect residue on the nozzle exterior instead of endlessly increasing purge.
Save a transition sample with its settings. If changing polymer as well as color, use the suppliers’ changeover procedure: visual color cleanliness does not establish material compatibility.
Compare total waste, not just tower size
Record model material, purge material and time from the slicer for each candidate. Keep the same model and profile so the comparison is meaningful. Use the cost-per-print guide to include waste in the budget.
Accept a smaller purge setting only after the visible transitions remain clean. A slightly lighter waste pile is not a saving if it spoils the finished print.