Dry TPU using the instructions for the exact filament line, with a spool and dryer that can tolerate that cycle. Shore hardness is not a drying recipe. Published examples differ substantially, and a feed problem can remain even after moisture has been addressed.
Two documented TPU cycles—and why they stay separate
| Exact material | Manufacturer’s instruction | When it applies |
|---|---|---|
| Prusament TPU 95A | 60°C for at least four hours. | Prusa says drying is usually unnecessary, but recommends it when absorbed moisture causes problems. |
| PolyFlex TPU90 | 70°C for eight hours. | Polymaker specifies this when the material has absorbed moisture. |
Sources: Prusament TPU 95A guide and PolyFlex TPU90 documentation. These are examples for those named lines, not a range from which to choose a convenient TPU setting. Confirm the current document against your spool before use.
Arrange the full cycle before heating
- Identify the roll. Keep brand, complete formulation name and spool construction together. A reused spool label can be misleading.
- Check equipment limits. Confirm the required temperature, duration, spool clearance and spool heat tolerance. If a limit is missing, obtain it before starting.
- Follow the dryer’s loading instructions. Use its prescribed vents, lid position and outlets. Do not borrow a lid-opening trick from another device.
- Run the documented cycle. Record settings and time so the next observation has context.
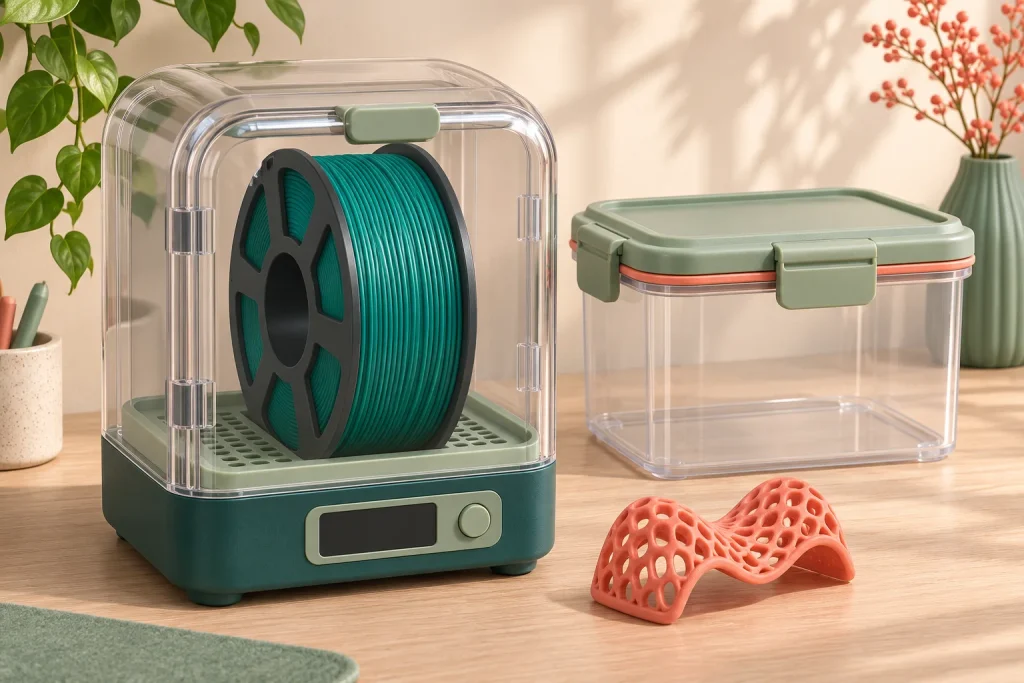
- Protect the prepared filament. Move it into suitable dry storage or the manufacturer-supported printing arrangement.
The general dryer setup guide covers equipment and spool checks. The material-specific instruction remains the authority for this roll.
Keep moisture diagnosis separate from feed diagnosis
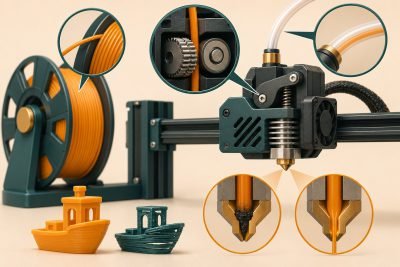
Prusa’s named TPU guide discusses both moisture-related stringing or bubbles and mechanical feeding difficulties. It gives different routing advice for particular printers. That distinction matters: completing a drying cycle does not correct an unsuitable tube path, a jam or an unsupported feeder.
The surface improved
Keep the successful preparation note with the roll. Repeat a comparable file and avoid changing several print settings at once when judging the result.
Feeding still stops
Use the printer’s TPU loading and troubleshooting procedure. Do not respond to every interruption by increasing the drying temperature.
A low chamber-humidity reading is not a measurement of moisture throughout the filament. Likewise, persistent stringing does not prove that a hotter cycle is needed. Use the wet-filament symptom checks to keep other explanations in view.
Follow the result after the cycle
The useful outcome is a prepared roll that prints through a supported feed path. Keep the cycle within its documented limits and investigate remaining defects on their own terms.
Which next step fits the roll?
Printing improved after preparation
Store the roll dry and retain the cycle note. Follow the storage routine between jobs.
The same defect remains
Return to the exact printer and material troubleshooting instructions. Separate visible extrusion defects from physical loading or feeding interruptions.
The drying instruction is missing
Contact the material supplier with the full product identity. Do not infer a cycle from another TPU’s Shore number.