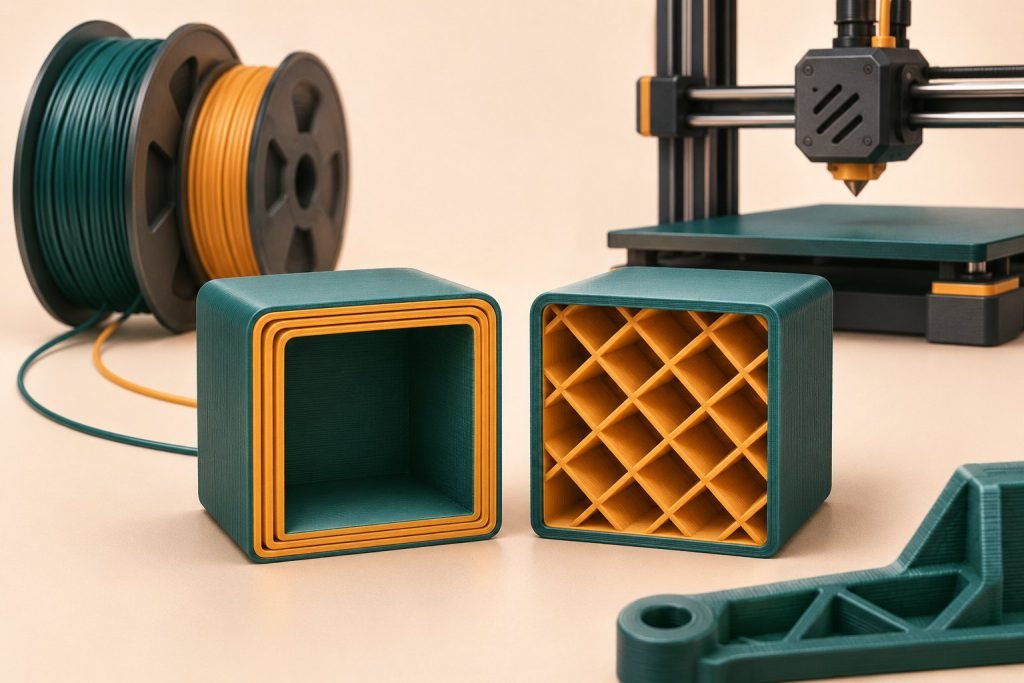
For a thin-walled bracket, adding another wall may be a more useful experiment than filling its center. For a broad top surface, the support beneath that surface may be the immediate problem. Start by locating the failure.
| Observed problem | First comparison to make |
|---|---|
| Wall cracks or flexes too much | Another perimeter, a thicker modeled wall, or a better orientation |
| Top skin sags between supports | Top thickness and the spacing of internal support |
| Joint breaks at a narrow corner | Local geometry and load direction before global infill |
| Part is unnecessarily heavy | Remove material away from the actual load path |
Prusa’s perimeter documentation emphasizes the contribution of walls to model strength. That is a useful starting point, not a load rating for a particular print.
Compare two controlled slices
- Save the current project as your baseline.
- In one copy, change only the wall count.
- In another, change only infill density.
- Inspect the affected region in layer preview and record time and material estimates.
- Print a representative section before committing to the full part.
Why not use 100% infill?
It can add time and material without repairing an unsuitable orientation or a stress concentration. Decide what result you need first. A fully filled print is not automatically reliable under every type of load.
Distinguish stiffness, strength and toughness when evaluating the result. Less bending is not proof of better impact resistance. Keep the version that improves the actual failure mode, rather than the one with the largest percentage.