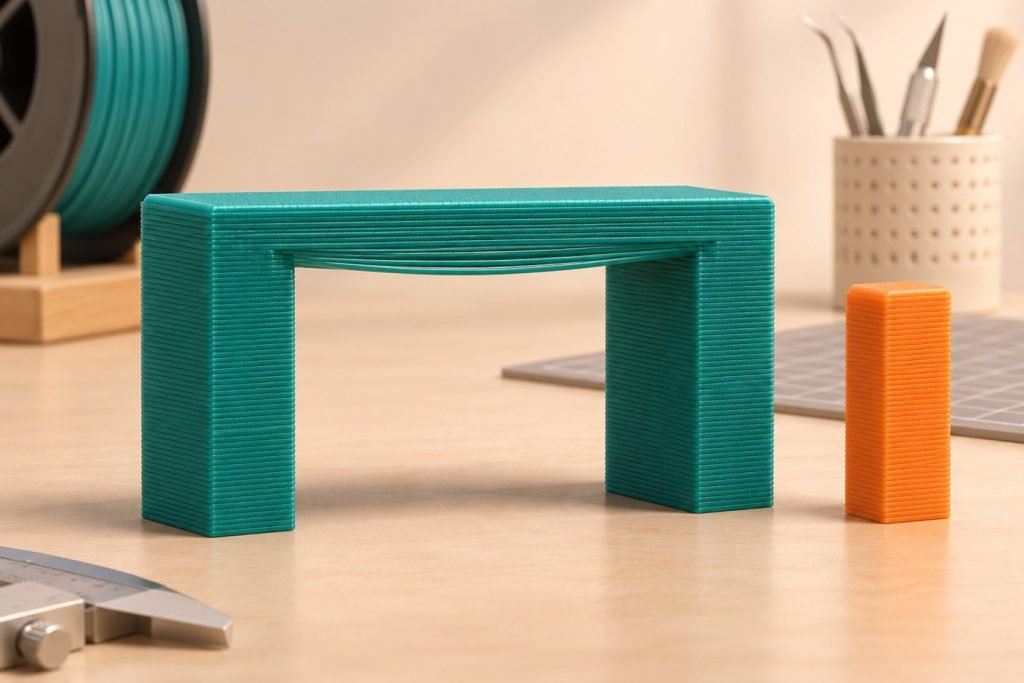
Try a bridge when the underside can tolerate the result and the span has reliable support at both ends. If a drooping underside would obstruct a fit or spoil a visible face, compare a different orientation or removable support before spending time tuning an unsupported span.
Start with the underside’s job
An opening that only provides cable clearance can accept a different finish from the inside of a fitted sliding channel. Decide what would count as an acceptable result before choosing a test model. A bridge that stays connected is not automatically a bridge that meets the design.
| Requirement | Check on the print |
|---|---|
| Clearance | Does sagging reduce the opening below what is needed? |
| Appearance | Is the underside visible in normal use? |
| Support removal | Could added support actually be reached and removed? |
| Assembly | Does the complete part fit, rather than merely finish printing? |
Prusa’s bridging guidance identifies sagging as a common problem and explains why shorter spans are easier to cool while the extrusion crosses open space. It recommends investigating bridge-specific flow and speed, cooling, orientation and support placement. It does not provide a universal maximum distance for every material and machine.
Preview the crossing before changing the flow
Find the first unsupported layer in the sliced model. Check where the paths begin and end and whether the slicer treats the area as a bridge. A settings adjustment is poorly targeted if the paths you are trying to improve are not using that setting.
Keep the original slice as a reference. If a different model orientation removes the problematic span, compare the new supports, exposed faces and assembly requirements as well. Avoid fixing the underside by creating a worse problem elsewhere.
Make a representative short test
- Choose a section with the real opening width and similar anchor geometry.
- Use the same material, nozzle and supported profile planned for the final part.
- Record the baseline underside and clearance.
- Change one relevant bridge parameter, reslice and compare the result.
- Keep the successful settings with the test file before committing to the long print.
The aim is a usable opening under your conditions, not a record-breaking span. A thin demonstration bridge is not proof that every roof, pocket or channel will behave the same way.
Keep bridge flow separate from ordinary extrusion
For PrusaSlicer, the manufacturer recommends lower bridge flow and speed as tuning directions and provides a dedicated Bridge flow ratio control. Apply the relevant version’s bridge controls rather than globally starving the entire part of material. Stay within the material and printer guidance for cooling and temperature.
If ordinary surfaces also print poorly, resolve that wider problem first. The flow-calibration guide explains why extrusion quantity and corner transitions are separate adjustments. A bridge-only experiment should not become an uncontrolled change to the whole profile.
Stop tuning when support solves the real requirement
Prusa suggests a support island for a long span where appropriate. Before adding one, consider access: a support that prints successfully but cannot be removed from an enclosed cavity has not solved the finished-part problem.
Compare total work, including cleanup and rejected parts. A slightly longer supported print can be the better choice if it consistently preserves an important opening. Conversely, a rough underside that remains hidden and clears its mating component may not need cosmetic improvement.
Choose the route that leaves a usable opening
The bridge passes the clearance and appearance check
Keep the qualified setup and inspect the complete part before repeating it. Do not extend the successful distance to another geometry without checking.
The underside still interferes with the job
Compare reorientation, reachable support or a design change. Stop chasing a support-free result when it no longer serves the part’s purpose.