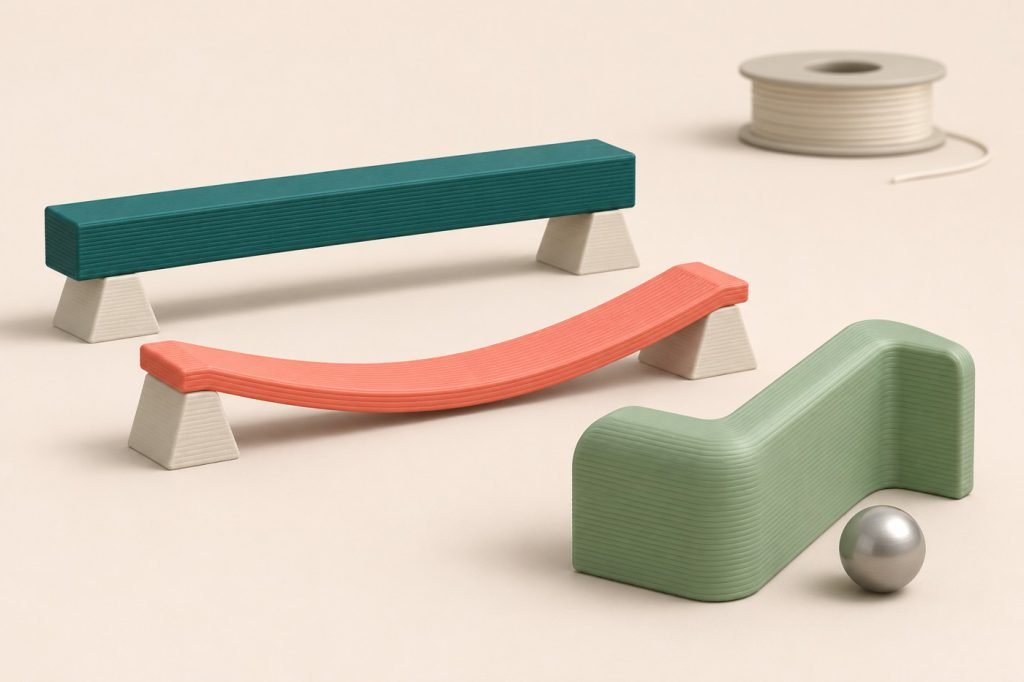
A part can bend too much without breaking. It can also feel rigid and then crack when dropped. Both disappointments are sometimes described as “weak filament,” but they point to different properties. Choose the measurement that matches the problem before shopping for a stronger material.
Start with the behavior you need to change
| Problem | Useful starting data |
|---|---|
| Too much flex | Modulus: the material’s resistance to deformation under the stated test conditions. |
| Failure in a pull | Tensile results, including whether the reported value is yield, maximum stress or break. |
| Cracks on impact | Impact results with the test method and notch condition. |
| Splits at layers | Printed orientation and interlayer results, alongside process and design checks. |
Instron’s explanation of plastics tensile testing distinguishes tensile strength, modulus and elongation. A modulus value describes stiffness; it is not the same measurement as the maximum tensile stress. Elongation describes deformation, not a stand-alone permission to use a material as a repeatedly flexing hinge.
“Tough” does not mean “barely bends”
Ensinger’s engineering-plastics manual distinguishes rigidity from toughness: resistance to deformation and energy absorption are different material characteristics. Its selection guidance also emphasizes temperature, loading duration and moisture. Those distinctions help explain why a softer-feeling material can be useful for one task while a rigid one suits another.
Consider two hypothetical requirements. A positioning jig may become unusable when it deflects even though it never snaps. A handled cover may need to survive knocks but tolerate some flex. Ranking both by a single “strength” number hides the actual requirement. Decide what counts as failure for your part: lost alignment, a permanent bend, a crack, a loose fit or something else.
Can I compare two impact numbers directly?
Keep the test method, specimen condition, units and notch status together. A notched result and an unnotched result are not a clean material ranking. If one seller omits those labels, ask for the technical sheet rather than treating the larger number as the winner.
Printed direction belongs in the comparison
Look for results on printed specimens and the direction used. The HT-PLA technical sheet, for example, lists separate X-Y and Z mechanical properties and identifies preparation conditions. The existence of those separate rows is the important lesson here: a headline number should not silently stand in for every direction of a printed part.
Write down the direction of the important force on your own model. Then ask whether the available data represents a comparable printed orientation. A filament upgrade does not erase the need to inspect the layer direction, joint geometry and print quality. Do not convert a specimen’s MPa value directly into a kilogram rating for a differently shaped bracket.
A compact shortlist record
- Requirement: the behavior you need to avoid, expressed in plain language.
- Material: the exact formulation and document revision.
- Result: the relevant property, units and test method.
- Condition: printed direction, moisture or conditioning state, temperature and any post-treatment.
- Open question: what the data still does not establish about your finished part.
If heat is part of the requirement, keep it as a separate check. The HDT-versus-Vicat guide explains why a thermal test label also matters. Neither a room-temperature tensile value nor a large softening-temperature number answers every service condition.
Replace “strongest” with a specific requirement
For a part that flexes too much, begin with stiffness and geometry. For a part that breaks under a pull, examine the relevant tensile result and printed direction. For impact damage, inspect impact evidence under comparable conditions. Then qualify the actual design for its job; a better-matched data sheet is a shortlist tool, not a finished-part test.