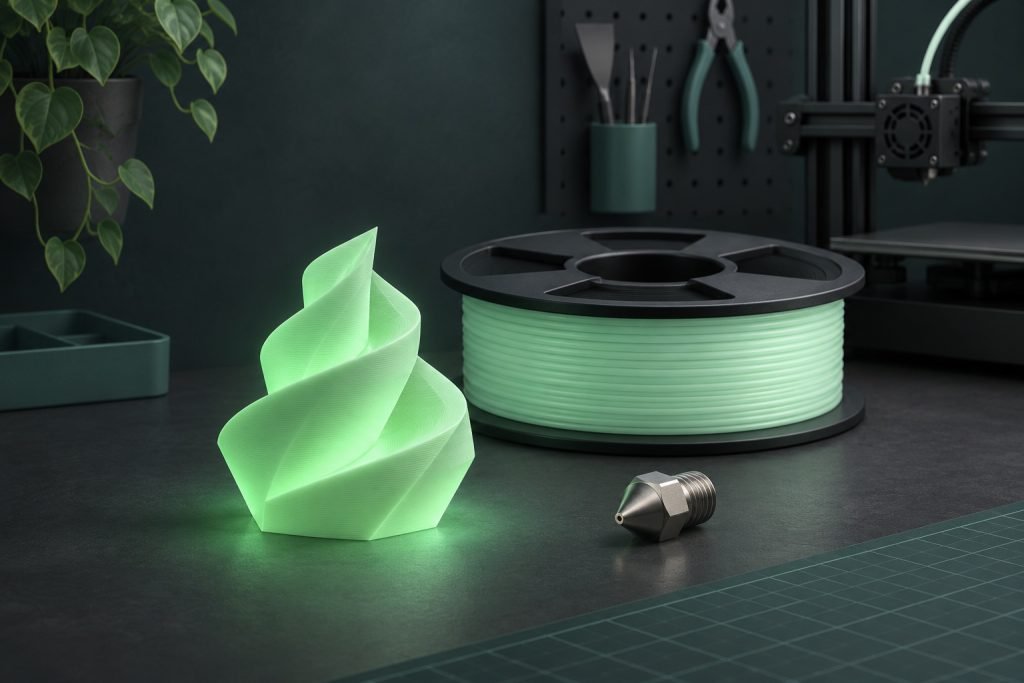
Glow filament is a material choice and a hardware choice. Before ordering a roll, confirm the nozzle and feeder requirements for that exact formulation. After that, judge its afterglow on a small print in the room where you plan to use it. A bright product photograph answers neither question.
The nozzle is only the first wear point
Phosphorescent additives can make a filament abrasive. Prusa’s nozzle documentation treats glow materials as a reason to check abrasion resistance and the filament’s minimum nozzle size. Use a compatible wear-resistant nozzle and its supported profile; changing nozzle material can change the printing setup.
The rest of the filament path matters too. For Bambu PLA Glow, the current instructions require a hardened steel nozzle, exclude stainless steel and 0.2 mm nozzles, and mark AMS lite incompatible. They list AMS, AMS 2 Pro and AMS HT as compatible while warning about faster wear. Those are named-product boundaries, not a rule for every glow spool or automatic feeder.
| Before you buy | The answer you need |
|---|---|
| Exact material | PLA, PETG or another base polymer, plus the full glow product name. |
| Nozzle | Approved material and diameter for that filament and printer. |
| Feeding system | Compatibility for the named feeder, including wear cautions. |
| Profile | A supported starting profile for the installed nozzle and material. |
| Appearance | A small sample that looks useful under your actual lighting. |
Separate the daytime color from the afterglow
A decorative object has two appearances: its surface in ordinary light and the light it emits afterward. Decide which one matters most. A pale daytime color may be acceptable for a desk ornament yet wrong for a matching set. A dramatic initial glow may not remain equally visible through the whole evening.
Bambu states that its glow diminishes over time and can be refreshed through light exposure; it also warns that prolonged or repeated irradiation can accelerate PLA aging. Follow the exact product’s charging guidance instead of assuming more exposure is always better. Do not translate a photograph into a promised brightness or duration.
A small sample that answers the right question
- Print a modest section containing the shape or surface you actually want to display, using a supported setup.
- Inspect its ordinary-light appearance before evaluating the glow.
- Apply the manufacturer’s charging method and move it to the intended viewing location.
- Check it at the times that matter to your project, recording the same lighting conditions when comparing candidates.
This is a practical appearance check, not a calibrated brightness test. It helps you decide whether the effect is worthwhile before printing a large object. Do not use a decorative glow print as the sole lighting or safety marker for a task that needs reliable visibility.
If the print struggles, identify which problem you have
- It will not feed reliably: stop and recheck material/feeder compatibility. Do not force an excluded material through an automatic system.
- The extrusion or surface is poor: check the supported nozzle, profile and material condition. Use the exact roll’s drying instructions where drying is required.
- The print is sound but the glow disappoints: compare the charging and viewing conditions before changing extrusion settings.
Keep an opened roll dry between projects; our storage guide covers the routine. Storage preserves the material’s condition but does not resolve an incompatible feeder or guarantee the visual effect.
Which check is still unanswered?
I do not know whether my hardware is suitable
Resolve the exact nozzle and feeder requirements before purchasing. A generic PLA profile does not confirm suitability for an abrasive additive.
The hardware fits, but I am unsure about the effect
Start with a small quantity and a representative display sample. Keep the daytime appearance and fading afterglow as separate decisions.