An annealed PLA part is not finished until it still fits. Before treating a complete batch, measure a representative print, follow the exact material’s annealing instructions, then check the cooled part against the same references. A higher thermal figure is useful only if the mounting holes, mating surfaces and working features remain usable.
Decide what “still fits” means first
Choose the dimensions that determine whether the object works. For a cover, that might be the distance between mounting holes and the lip that engages the case. For a spacer, thickness and hole clearance may matter more than overall length. Set the acceptable range from the assembly requirements before seeing the result.
| Feature | Record before treatment | Check after cooling |
|---|---|---|
| Outer dimensions | Length, width and height at identified locations | Each dimension separately, not a single shrinkage guess |
| Mounting pattern | Hole spacing and the relevant hole sizes | Alignment with the mating part without forcing it |
| Flat base or cover | How it sits against its intended reference | Rocking, bowing or gaps |
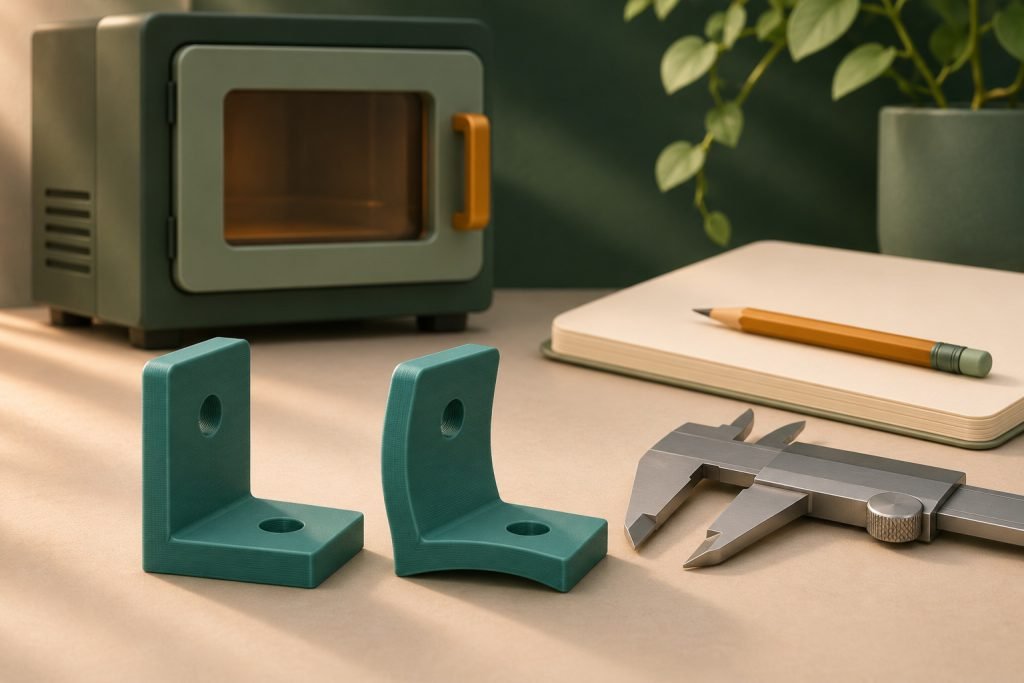
| Clip or thin tab | Required movement and visible condition | Fit, cracks and whether the needed movement remains acceptable |
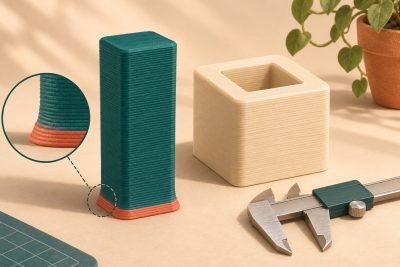
A simple test block is useful for observing dimensional change. It cannot stand in for every detail of a thin, curved or unevenly supported part. Include a representative feature from the actual design before treating a complete assembly.
Keep the material recipe separate from the measurement plan
There is no temperature-and-time recipe here for every PLA. Use current instructions for the exact formulation and suitable equipment. For example, 3D-Fuel’s Tough Pro PLA+ guidance calls for checking temperature at several locations, supporting the part and allowing it to cool before remeasurement. It also says wall thickness affects treatment time. Those details belong to that material’s process, not a universal PLA preset.
Before starting, record the filament name and revision, print orientation, wall and infill settings, the instruction version and the planned cycle. Keep an untreated counterpart when a side-by-side comparison would help. Do not change the material and geometry while trying to establish what one treatment changed.
Why one scale percentage can mislead you
Prusa’s published annealing experiments found different dimensional changes along different axes, and its more complicated printer parts became unusable after treatment. That is a reason to inspect shape and individual features, rather than assume the whole object shrank uniformly. The results concern the tested materials and geometries; they do not provide a compensation percentage for your roll.
For a dimension that changes consistently, the arithmetic is straightforward:
Trial scale multiplier = desired final dimension ÷ measured final dimension.
As an illustrative calculation, a feature intended to finish at 50 mm but repeatedly finishing at 49 mm suggests a multiplier of 50 ÷ 49, or about 1.0204. That is approximately 102.04% of the previous size for the next trial. It is a prediction to check, not a proven setting.
When scaling is the wrong response
Scaling a bowed cover does not make it flat. Increasing one axis also moves every feature on that axis, which may spoil a hole that already fits. If deformation varies across the part or from trial to trial, resolve the material, process or design choice before applying a blanket correction.
Compare the cooled result with the original job
- Measure at the same locations. Use the recorded references and method so the before/after comparison is meaningful.
- Try the mating components. Check alignment and clearance without forcing a fit that could conceal distortion.
- Inspect the important features. Look for cracks or unwanted changes at tabs, corners and thin sections.
- Repeat before multiplying the batch. Confirm that a corrected trial gives a sufficiently repeatable result for the intended job.
Dimensional acceptance still does not establish a safe working load or service temperature. Those are separate requirements. Nor does annealing replace drying the filament before printing: if extrusion is already inconsistent, address the material’s preparation and storage routine before using that print as your reference.
Choose the next step from the measured result
The part fits and the result repeats
Save the material, print and treatment records together. Recheck the process after a formulation, geometry or equipment change.
Dimensions shift consistently, but the shape stays usable
Make a controlled correction to the relevant design or scale, then verify another treated sample before committing a batch.
The part bows, cracks or changes unpredictably
Do not force the assembly. Reconsider the process or select a material that meets the job without this treatment.