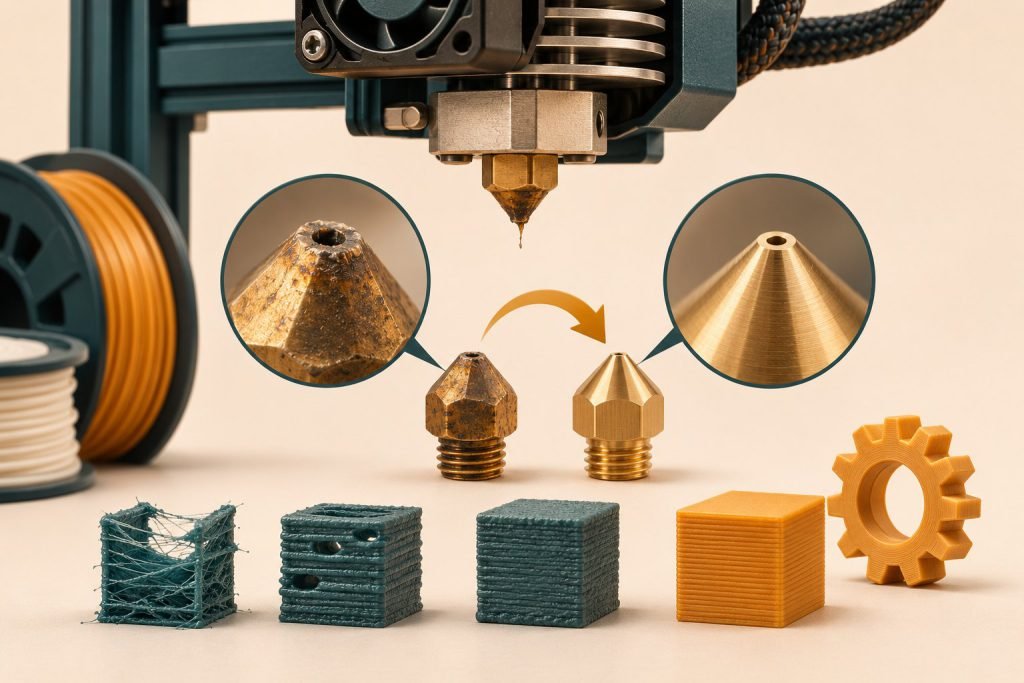
Replace the nozzle when inspection and troubleshooting point to wear or damage, or when the next filament requires a different nozzle type. Poor extrusion alone does not prove the nozzle is worn.
Prusa’s V6 replacement guide separates wear replacement from changing type or diameter. Abrasive-material use changes the maintenance picture; a universal number of printing hours is not a useful replacement rule.
Inspect first, then choose cleaning or replacement
| What you can establish | Next step |
|---|---|
| Outlet or tip is visibly damaged or worn compared with the same nozzle design | Replace with the correct part. Cleaning does not rebuild missing metal. |
| Some extrusion remains; no clear tip damage | Check whether the exact nozzle permits a cold pull or another cleaning method. |
| No extrusion at all | Follow the complete-blockage diagnosis; a partial-clog cold-pull procedure is not the starting point. |
| Filament catches before reaching the hotend | Resolve the feed restriction before buying a nozzle. |
| Next material requires abrasion resistance or another opening size | Change the nozzle type deliberately; see brass versus hardened steel. |
Cold-pull permission is specific to the nozzle
Prusa’s MK3/S/+, MK2.5/S and MK3.5/S instructions cover a partially blocked nozzle that still extrudes. They expressly exclude Nozzle X and direct its users to cleaning filament. Identify aftermarket hardware before applying the printer’s standard procedure.
What counts as a useful cleaning attempt?
- Record the original symptom and confirm the method is allowed for the installed nozzle.
- Follow that complete procedure and its endpoint; do not borrow a temperature or pulling force from another hotend.
- Run the prescribed extrusion check, then a small representative print.
- If the same fault remains, follow the manufacturer’s next diagnostic step. Repeating a pull indefinitely is not evidence that the nozzle needs replacement.
A nozzle that works after approved cleaning need not be discarded merely because it clogged once. Conversely, visible wear, damage, or a documented failed-cleaning diagnosis is a reason to replace it. Printing hours alone cannot decide between those cases.
Make the replacement traceable
- Record the old nozzle’s type and reason for removal.
- Verify the new part against the complete hotend.
- Follow that assembly’s installation procedure.
- Select the matching nozzle profile and perform the required checks.
Keep the first small print as a comparison. If the original symptom remains, return to diagnosis instead of cycling through more nozzles. The compatibility checklist helps avoid adding a fit problem during maintenance.