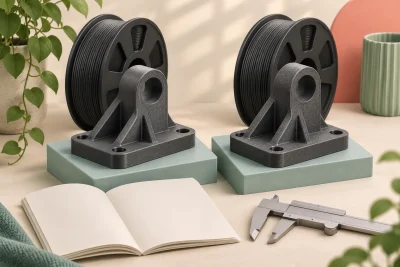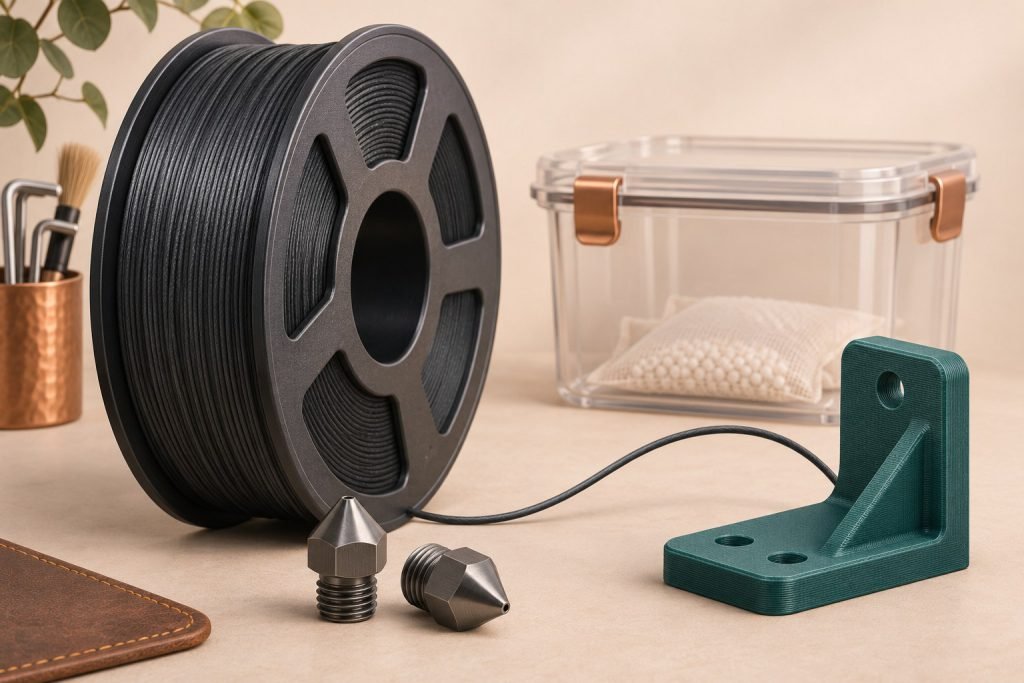
Before loading PETG-CF, confirm three things: the nozzle resists abrasion, the complete feed path supports the exact filament, and the material is prepared using its own instructions. A printer that handles ordinary PETG is not automatically ready for every carbon-fiber blend.
Start with the job as well as the machine. Choose a filled material because its documented properties or surface finish solve a real requirement. The letters “CF” do not establish a safe working load, a universal heat rating or stronger bonding in every print direction.
Check the hardware before changing the profile
| Check | Find the exact answer | Pause if |
|---|---|---|
| Nozzle material | The filament’s wear-resistant nozzle requirement and the installed nozzle’s specification | You only know its diameter, not its material |
| Nozzle opening | The allowed sizes for that blend | Your small-detail nozzle is excluded |
| Feeding system | Material support for the exact feeder generation, plus reel fit | The only claim is that the spool physically fits |
| Heating capability | The filament’s nozzle, bed and chamber instructions against the printer’s supported limits | You would need to exceed a component rating |
Nozzle hardness and opening size solve different problems. A hardened nozzle addresses wear; it does not make every small opening suitable for fibers. For example, Bambu’s PETG-CF instructions allow a 0.4 mm hardened nozzle but recommend 0.6 mm to reduce clogging risk, and exclude 0.2 mm. Use that distinction when choosing detail versus feeding margin for this material.
Compatibility is similarly specific. Bambu lists its PETG-CF for AMS, AMS 2 Pro and AMS HT, but excludes AMS lite. That does not certify another manufacturer’s blend in those feeders. The AMS material and spool checks explain why a reel that rotates freely can still be the wrong material choice.
Copy the exact preparation instruction, not the category name
Drying instructions vary even between products called PETG-CF. These documented examples show why the label alone is insufficient:
| Exact formulation | Manufacturer drying reference | Boundary |
|---|---|---|
| Bambu PETG-CF | 65°C for eight hours in a forced-air drying oven | From its V3.0 technical sheet; not an eight-hour rule for every filled PETG |
| Fiberon PETG-rCF08 | 65°C for three hours | From its V1.0 technical sheet; a different formulation with different instructions |
Check the current document and the supplied spool before starting. Both Bambu’s sheet and Fiberon’s sheet call for dry storage with humidity below 20%. A storage box is useful after preparation; it does not establish that a wet roll has been dried.
Keep the material’s temperature limit, the reel’s limit and the dryer’s instructions together. A hotter recipe taken from nylon-CF is not an upgrade for PETG-CF. For the distinction between drying a roll and keeping it dry afterward, use the PETG drying guide.
Enclosure advice can change with the blend
Do not turn “filled filament” into “always close the printer.” Polymaker’s PETG-rCF08 guidance says an enclosure is unnecessary and advises keeping the door open on an enclosed machine. Bambu’s PETG-CF guidance instead cautions against an open-frame setup when seeking stronger Z-axis bonding. Follow the exact material and printer guidance rather than averaging those recommendations.
The same principle applies to cooling and speed. Save a profile under the actual material and nozzle combination so a later switch does not quietly reuse the wrong assumptions.
Make the first job answer a useful question
- Select a representative small part. Include the thin wall, hole, overhang or mating feature that matters in the finished object.
- Use the correct material and nozzle profile. Confirm the installed nozzle matches the slicer selection after a hardware change.
- Inspect the result before scaling up. Check feeding, surface defects, feature fit and obvious separation. A clean surface alone does not establish structural suitability.
- Record the setup that produced it. Keep the material revision, preparation, nozzle and settings together so the next print is a meaningful repeat.
If extrusion stops or the result deteriorates, pause and use the printer’s documented inspection procedure. Repeatedly forcing filament through a suspected obstruction is not a substitute for checking the nozzle and feed path.
Does a stiff-looking part prove the material is stronger?
No. Stiffness, breaking strength, impact behavior and layer bonding are different properties. Read the test direction and preparation notes in the exact technical sheet. Its reference specimens are not a load rating for your printed bracket.
Choose your next step before buying a larger spool
The hardware and material instructions match
Prepare the roll and run the small part that represents your actual job. Expand only after checking the result against the requirement.
Only the nozzle diameter is known
Verify its material and the blend’s allowed openings first. Resolve that hardware question before experimenting with hotter settings.
The feeder or enclosure guidance conflicts
Find the exact model and formulation instructions. If they cannot be reconciled, choose a supported material or feeding arrangement rather than assuming all PETG-CF behaves alike.