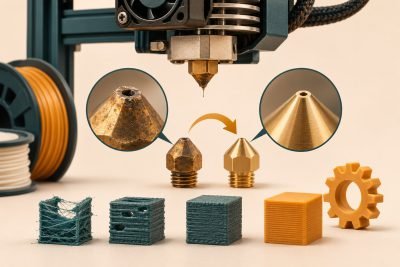
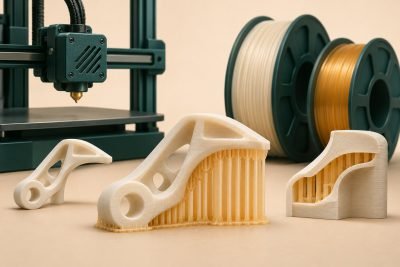
Clear filament can produce a light-transmitting print without producing a clear view through it. Decide first whether you want a glowing diffuser, a translucent decorative object or a window through which details remain recognizable. Those are different targets, and the clearest-looking spool does not settle the result.
Choose what “clear enough” means
| Goal | Judge the sample by |
|---|---|
| Light diffuser | Light spread, visible hotspots and the color under the intended light. |
| Display piece | Tint, haze, layer appearance and the finish you can realistically produce. |
| Viewing window | Recognizable detail through the finished thickness at the intended viewing distance. |
A diffuser does not necessarily benefit from maximum see-through clarity. A window does not pass simply because it glows brightly with a lamp behind it. Keep that distinction when reading product photographs: lighting and background can make a translucent object look more impressive without showing what you need to see through it.
There are two places to lose clarity
Prusa’s filament transparency experiments explain that gaps around deposited plastic scatter light inside a print. The outer surface also needs attention. Their work used particular materials, printers and substantial finishing; its adjusted flow and speed values are experimental examples, not a universal clear-PETG profile.
This gives you two separate questions: is the interior sufficiently uniform for your goal, and is the surface finish obscuring it? Improving one does not guarantee that the other disappears. A smooth outside can still surround a hazy interior.
Will surface smoothing make any clear filament transparent?
No. Prusa’s experiments distinguish surface changes from the unaffected internal structure. Do not select a chemical treatment simply because it worked on a different polymer. For a material intended for smoothing, follow that exact product’s process and handling instructions.
Print a sample that represents the finished object
- Match the important thickness. A thin wall is not a convincing preview of a much thicker window.
- Use the intended orientation. Keep the viewed face and layer direction comparable to the final part.
- Show the real lighting. For a diffuser, use the planned source and spacing. For a window, place a recognizable pattern behind it at the required distance.
- Include the planned finishing. Assess the cooled, finished sample rather than a hot print or an unfinished piece.
- Record the result. Save material, profile and finishing details with a photograph under consistent lighting.
Do not change wall thickness, material, flow and finishing simultaneously if you are trying to learn which change helped. A small pair of samples with one deliberate difference is easier to interpret than unrelated attractive objects.
Budget for finish, and know when to change the method
Some materials are explicitly sold for a decorative finishing workflow. Prusa’s PVB introduction positions it for visual objects such as vases and lampshades, with moisture care and post-processing considerations. That is a different purchase from an ordinary clear roll expected to become a finished window straight from the bed.
Optical demands can also exceed what a visually clear print provides. In a later transparent-housing experiment, Prusa found that its printed resin window distorted the image enough to be unsuitable as a camera cover. That specific result is not a verdict on every printing process, but it shows why light transmission alone is the wrong acceptance test for imaging.
Let the small sample decide the purchase
If the sample spreads light attractively, you may already have a good diffuser even though you cannot read through it. If you need a clear view and the finished sample remains hazy or distorted, consider a suitable sheet insert or another manufacturing method rather than buying a larger spool on the strength of its “clear” label.