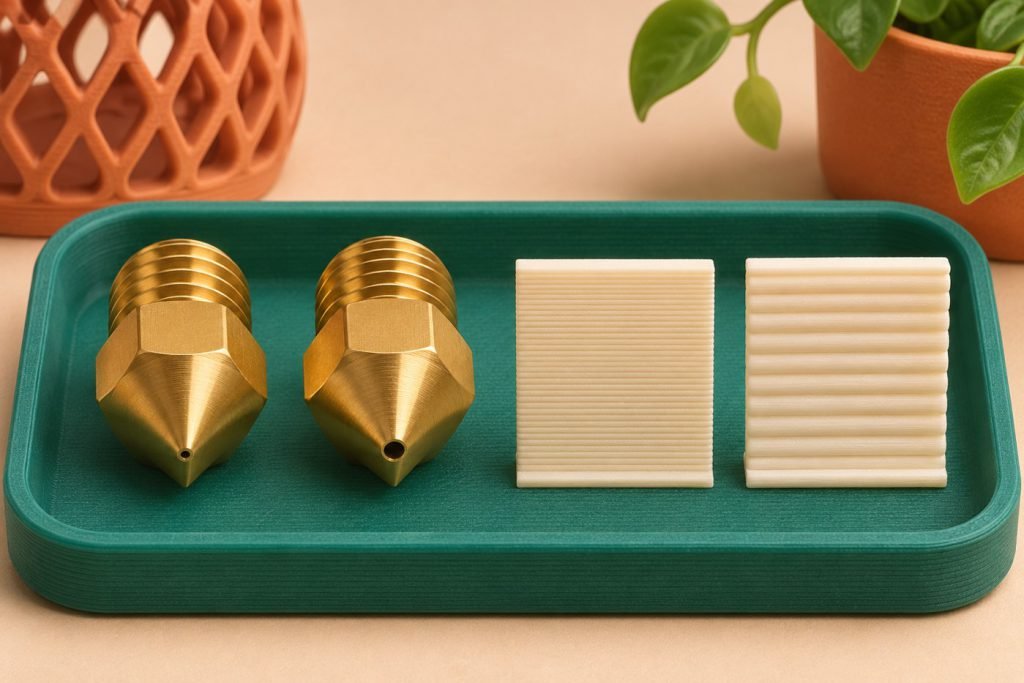
A 0.6 mm nozzle is worth considering when wider lines and taller layers suit the parts you print. Keep 0.4 mm when the existing setup already preserves the small features you need and the larger profile offers little useful time saving. The best comparison starts with your model in the slicer, not with the hole diameter alone.
Preview the feature you cannot afford to lose
Prusa’s nozzle-diameter guide distinguishes horizontal detail from layer height: a smaller nozzle can resolve finer features in the plane of the build plate, while layer height controls the stepping on vertical and sloped surfaces. Reducing layer height does not automatically restore a narrow top-face detail lost with a wider extrusion path.
| Priority | Compare in the preview |
|---|---|
| Small lettering | Are the strokes and spaces still present with the proposed nozzle profile? |
| Thin walls | Does the slicer preserve the intended wall rather than omit or change it? |
| Broad walls | Can fewer wider paths deliver the required wall thickness? |
| Sloped surface | Does the chosen layer height preserve the finish you need? |
For a fitted component, also inspect the actual mating edge on a small print. Preview is a useful rejection check before buying; it is not a measurement of the finished part.
Why a larger nozzle may save less time than expected
Prusa explains that wider walls can need fewer perimeter passes and that a larger nozzle can support taller layers. Those changes can reduce printing time. But a single-wall path at the same layer height may follow essentially the same route, with little time saved. Do not translate the change from 0.4 to 0.6 mm into a promised percentage speed increase.
The melting system is another limit. E3D’s V6 nozzle documentation lists different flow figures by nozzle diameter under a named PLA/temperature condition. Its 0.6 mm figure is not 50% higher than the 0.4 mm figure. Those source-specific figures illustrate the distinction between a larger opening and a proportionally larger sustained flow capacity; they are not universal limits for your printer.
A fair slicer comparison
Slice the same model with the manufacturer-supported 0.4 and 0.6 mm profiles. Keep the intended finished wall thickness and quality requirement comparable, rather than blindly preserving the same perimeter count.
Record estimated time, material, missing details and support changes. If the larger profile only wins after accepting a finish you do not want, it has not solved your actual requirement.
Diameter is only one part of the purchase
- Mechanical fit: confirm the nozzle system and exact hotend compatibility. A matching outlet diameter does not establish fit.
- Filament size: select the version for the printer’s filament diameter.
- Material resistance: check abrasion requirements separately when using filled filaments.
- Profile support: confirm the printer and slicer both know which nozzle is installed.
E3D’s V6 documentation, for example, separates filament-diameter variants and nozzle materials. Its brass and hardened-steel options do not have the same abrasion classification. A larger brass nozzle does not become wear-resistant merely because the opening is wider.
Follow the exact replacement procedure for your hotend. Some systems require a specific hot-tightening process; others use different installation methods. Do not transfer torque, temperature or handling instructions from an unrelated nozzle family.
Make the first print answer the purchase question
After installation and the required setup checks, print a representative section with the correct profile. Inspect the small feature that drove the choice, the wall thickness and the surface finish. Compare actual time with the slicer estimate before applying the new profile to a long job.
If higher throughput becomes the next constraint, use flow calibration for that setup. The nozzle purchase and the resulting speed limit are related decisions, but one does not establish the other.
Choose the profile that preserves the important detail
Stay with 0.4 mm when…
Your existing profile meets the job, fine features matter, or the larger profile offers little meaningful time saving after matching the required finish.
Try 0.6 mm when…
The model benefits from wider paths or taller layers, its critical details remain printable, and compatible hardware and a supported profile are available.
Keep both choices tied to the actual part. Neither diameter is a universal upgrade for every print.